

How to build a multilingual blog in Next.js
Building a single-language website in Next.js is simple, but it limits what you can offer users. At the same time, extending an existing site to many languages is a complex, time-consuming task. That is the cost of internationalization, also called i18n, and it is why websites should be designed to be multilingual from the start. Only then can your site deliver a natural experience to billions of users worldwide.


Let's see how to design an international site that supports multiple languages in Next.js with JavaScript. Follow this tutorial to learn how to build a multilingual blog in Next.js from scratch, but first let's understand what internationalization means.
What is internationalization?
According to the W3C, internationalization is the process of designing content, applications and services that work well for, or can be easily adapted to users of any culture, region or language. In other words, internationalization is the development of products or services that fit, or can be adapted with little effort to, different populations.
Internationalization is one of the building blocks of globalization. That's why the most popular websites support several languages. At the same time, making a site suitable for users all over the world is not easy. Translating all the text is not enough! You also need to make sure that the UI (user interface) and the site layout can adapt to different lengths of text and to the specific traits of each culture, such as colors and text formatting.
Another key concept in internationalization is the locale. Specifically, a locale is the set of parameters that define the layout and translations associated with the language the user chose for the interface. Locales are usually identified according to the UTS Locale Identifier standard, which includes both a language code and a country/region code. For example, Italian as spoken in Italy is identified as "it-IT", US English as "en-US" and UK English as "en-EN".
Why is it also called i18n?
Internationalization is usually abbreviated as “i18n”. That's because there are 18 letters between the "i" and the "n" in the word “internationalization”. So the terms "internationalization" and "i18n" can be used interchangeably.
Now let's see whether it's possible to build a multilingual Next.js site.
Does Next.js support internationalization?
As stated in the official documentation, Next.js has supported internationalized applications natively since version 10.0. So you don't need external libraries to implement internationalization in Next.js.
Specifically, Next.js accepts a list of locales in the "next.config.js" configuration file. One of them must be marked as the default, which out of the box is US English. Any other locales are optional and are used automatically by Next.js during the routing process.
So let's see how to use this feature to build a multilingual site in Next.js.
Building a multilingual blog with Next.js i18n
In this step-by-step guide, you'll learn how to use the Next.js i18n module to build a blog that supports Italian, English and Spanish. Let's get started!
Prerequisites
There's only one prerequisite for following this article: Node.js with npm updated to the latest LTS version.
The following tutorial covers every step of building a multilingual blog from scratch. If you'd like to see the final result right away or keep the code handy, clone the GitHub repo for this article and launch the multilingual blog with:
Now let's go through all the steps needed to build a multilingual blog in Next.js!
1. Initialize a Next.js project
Initialize a new Next.js project called `blog-multilingua-next.js` by running the following command in your terminal:
This uses Create Next App, the official tool for creating Next.js applications from scratch.
Wait for the initialization process to finish. The `blog-multilingua-nextjs` folder will now contain the following files:
This is what the simplest possible Next.js application looks like. To launch it, move into the "blog-multilingua-nextjs" folder in your terminal and start a local server with these two commands:
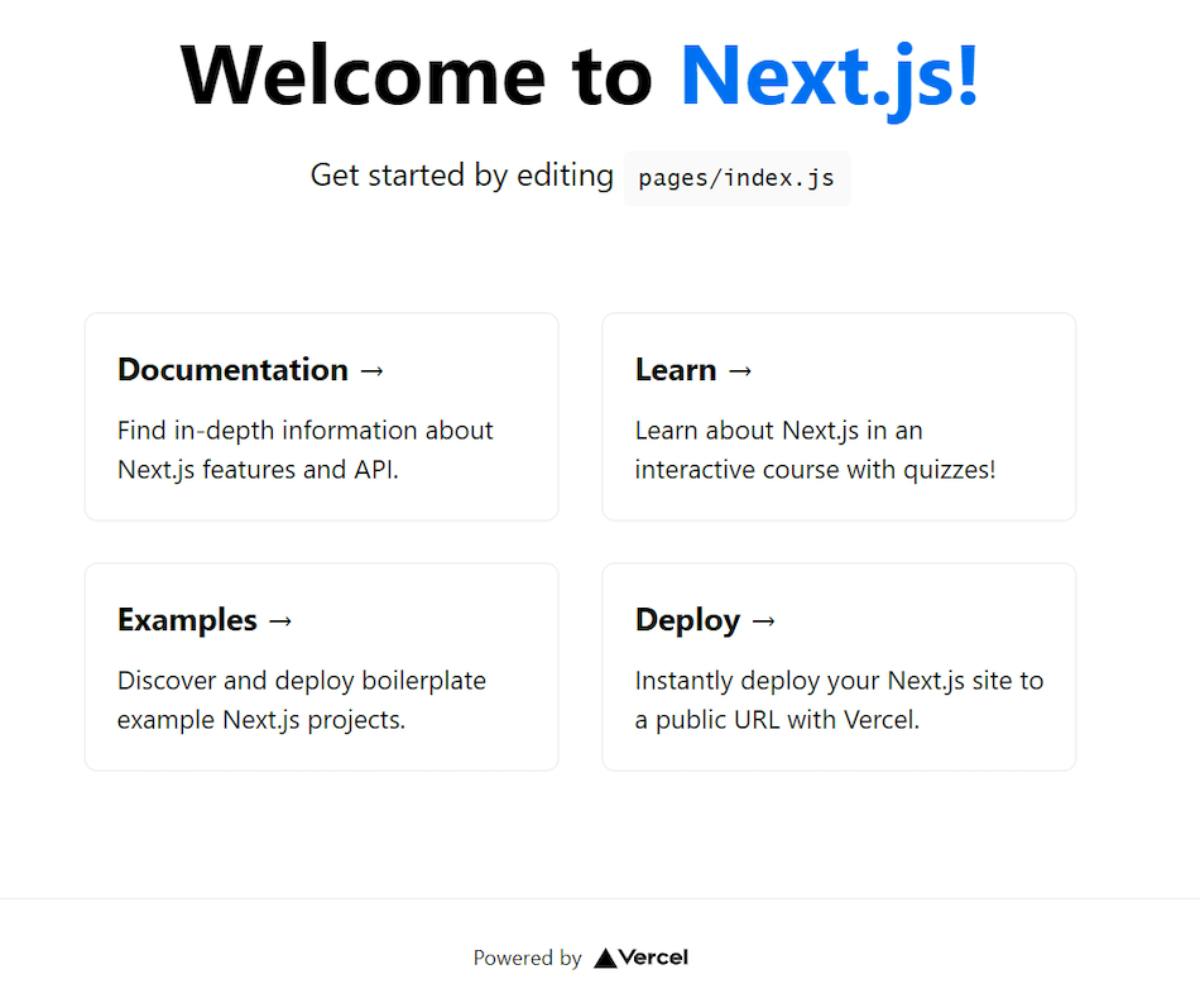
Visit "http://localhost:3000/" in your browser and you should see the default screen of an application generated with Create Next App, shown below:

2. Implement multilingual support in Next.js
As mentioned above, first you need to specify the locales your blog supports in the "next.config.js" file.
The "i18n" object holds the internationalization settings used by Next.js. The "locales" property defines the supported locales, while "defaultLocale" contains the default locale to use when non-localized URLs are visited.
The page routing behavior Next.js adopts when internationalization is enabled is called sub-path routing. This approach adds the locale code to page URLs. Let's look at an example to see how it works.
Say you have a file called "pages/blog.js", which maps to the "blog" HTML page under Next.js routing rules. For this file, the following URLs will be available:
- "/blog": Italian page.
- "/es-ES/blog": Spanish page.
- "/en-US/blog": English page.
As you can see, the first path corresponds to the default locale and has no prefix. The other two lead to localized versions of the same page. This is how what Next.js calls Internationalized Routing works.
Now let's define the home page of the multilingual blog. Update "pages/index.js" as follows:
As you can see, the Next.js i18n information is retrieved directly through the "useRouter()" hook. This gives access to:
- "locale": the currently active locale.
- "locales": the array of supported locales.
- "defaultLocale": the default locale.
- "asPath": the string containing the full path of the current page.
In the "Home" component, the configured locales are used to build a menu for selecting the desired language and navigating between the three localized versions of the home page. Then "locale" is used to show the blog posts for the selected language. These are loaded from the following "posts.json" file:
Finally, the selected posts are passed to the custom `BlogCard` component. It takes care of displaying a post preview and can be implemented like this:
Well done! You've just learned how to handle multilingual logic in Next.js. Thanks to its advanced native features, it only takes a handful of lines of code.
Internationalization according to Cantiere Creativo
As you've just seen, building an international, multilingual website with Next.js isn't complex. The real difficulties lie in managing multilingual content. Creating localized content and distributing it effectively to one or more sites is the biggest challenge when it comes to i18n.
Adding a new language or translating content should be something the editorial team can do directly and easily, without going through the development team. This is especially true considering that internationalization teams are usually made up of content creators, not software engineers. You can't ask your editors to write code to add localized content. Likewise, storing content in a `.json` file is not a solution. That approach works for a simple example like this one, but not for a real site.
That's exactly why Cantiere Creativo relies on DatoCMS, a fast headless CMS, complete and advanced, that offers an effective solution to multilingual content and much more. DatoCMS was conceived from day one with internationalization in mind and designed to make creating multilingual content as easy as possible.
As explained in the documentation, DatoCMS lets you add new languages, manage existing ones, assign languages to different editors and translate content visually right from the web-based content management platform. Your Next.js application can then fetch that content via API. That is the power of headless!
In other words, DatoCMS offers everything you need to easily manage one or more multilingual sites. That's why Cantiere Creativo chooses DatoCMS!
Conclusions
In this article, you learned how to build a multilingual blog from scratch in Next.js. Internationalization is a concept everyone should be familiar with, especially in a globalized world. Fortunately, as we've seen, implementing a multilingual site with advanced technologies like Next.js is easy. The real challenge lies in creating, managing and distributing content in multiple languages. That's exactly what DatoCMS, the content management system chosen by Cantiere Creativo, makes possible.
Thanks for following the tutorial! We hope you found this article useful. If, besides internationalization, you're interested in SEO in Next.js, we have the right resource for you. Feel free to contact us here with any questions, comments or suggestions.


