

How to create a new article in DatoCMS
Has your website just been built with DatoCMS and you're about to write your first article? The Cantiere Creativo team shares a few tips for a frictionless experience.
Has your website just been built with DatoCMS and you're about to write your first article? The Cantiere Creativo team shares a few tips for a frictionless experience.


Before you start, a few practical tips!
Before diving into our guide on how to write an article in DatoCMS, we want to share a few small tips that will make your work much smoother.
Work on your content in a Google Doc or Word file first. Plan the structure of your content before you start writing; focusing on the skeleton of the text first will make it much easier to set things up for SEO and for DatoCMS blocks. Already in Word or Google Docs, use numbered headings (H1, H2...) to create the sections and subsections of your content.
Choose the cover image and, if it isn't internal material, note the website you got it from and its author to avoid attribution and copyright issues.
Make sure the selected images are large enough for publication; if you don't know the minimum size, ask the developer who set up DatoCMS for you. As a general rule, a cover image should have a minimum width of 1200 px and a minimum height that depends on the image's aspect ratio.
Attach any other material to be linked from the article to your document as well.
This groundwork will make publishing the record, the technical name for content in DatoCMS (for you, an article), quicker than you think. Now let's walk through everything you need to know about DatoCMS from an editorial point of view.
The advantage of block-based content
Block-based content makes browsing and reading very smooth for users. And as a content creator, you'll have complete freedom in designing the content structure of your page.
To add your article's content, the first step is to create a new record. There are two ways to do it, depending on how your editorial backend is set up.
If your page has this structure:

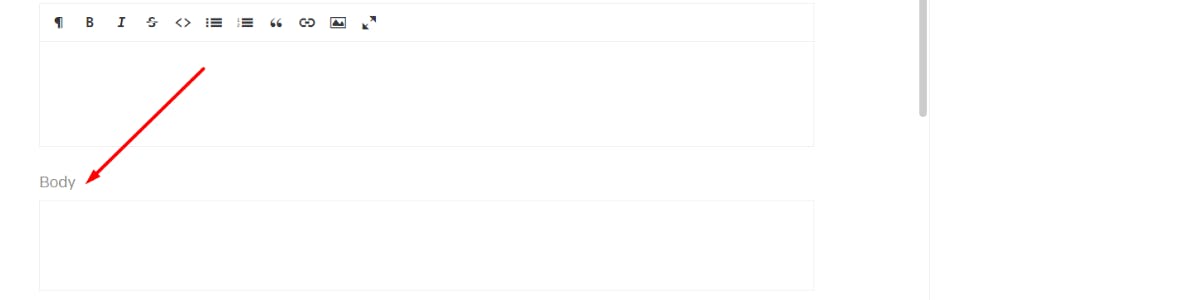
you can add elements such as headings, images or videos to your article text by typing a slash (“/”), which opens a picker where you choose the element you want.

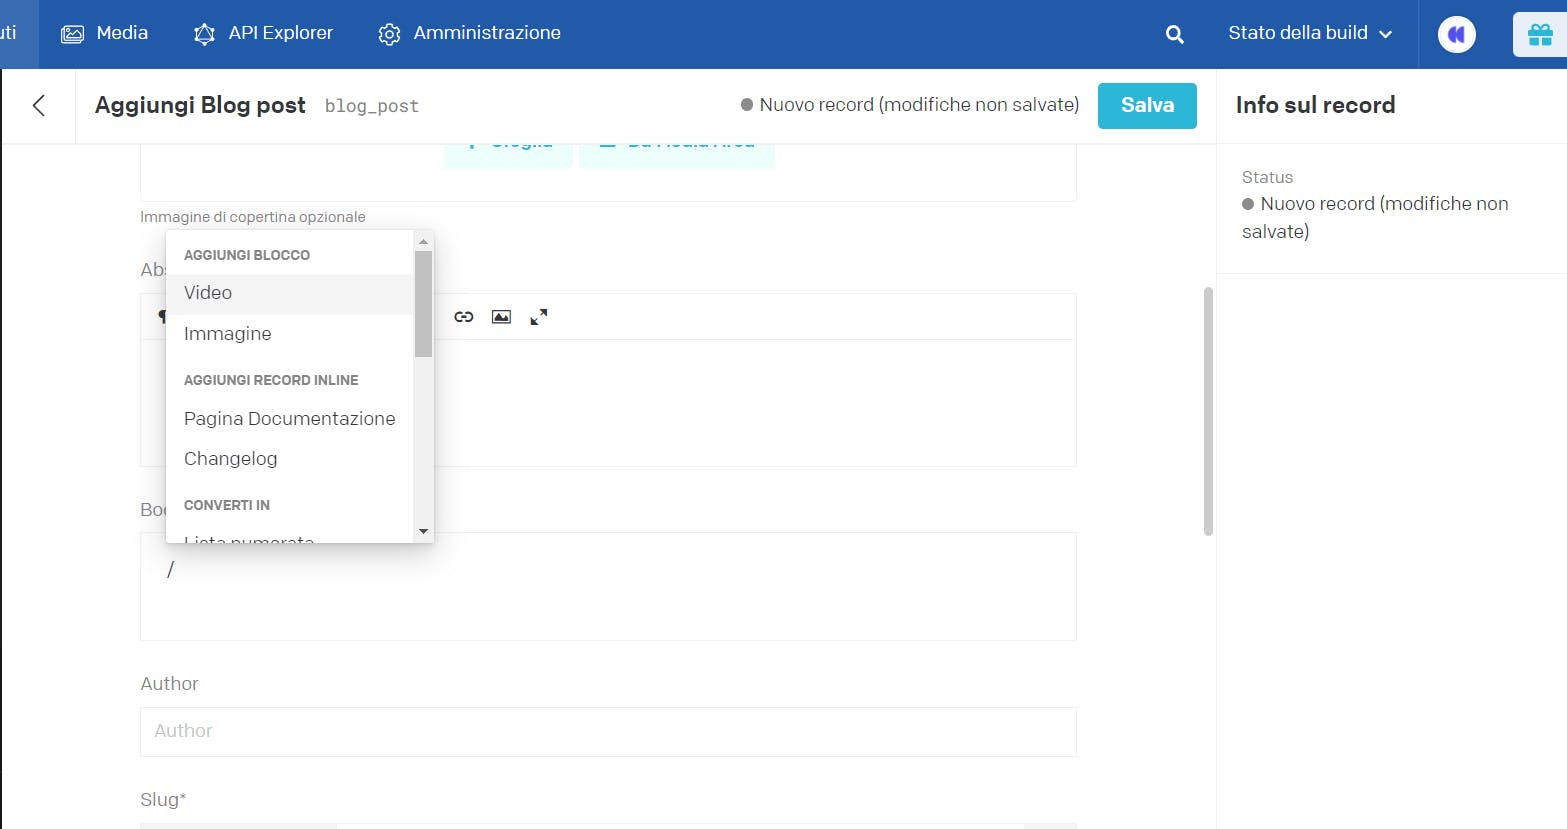
If you decide to edit text directly in DatoCMS, the writing experience is very similar to a Google Docs or Word document.
If instead your new record has no “body” section but uses a modular content structure, you can choose “text block” here to add text, or the other block types available in your DatoCMS installation, such as internal links, images, videos or quotes.

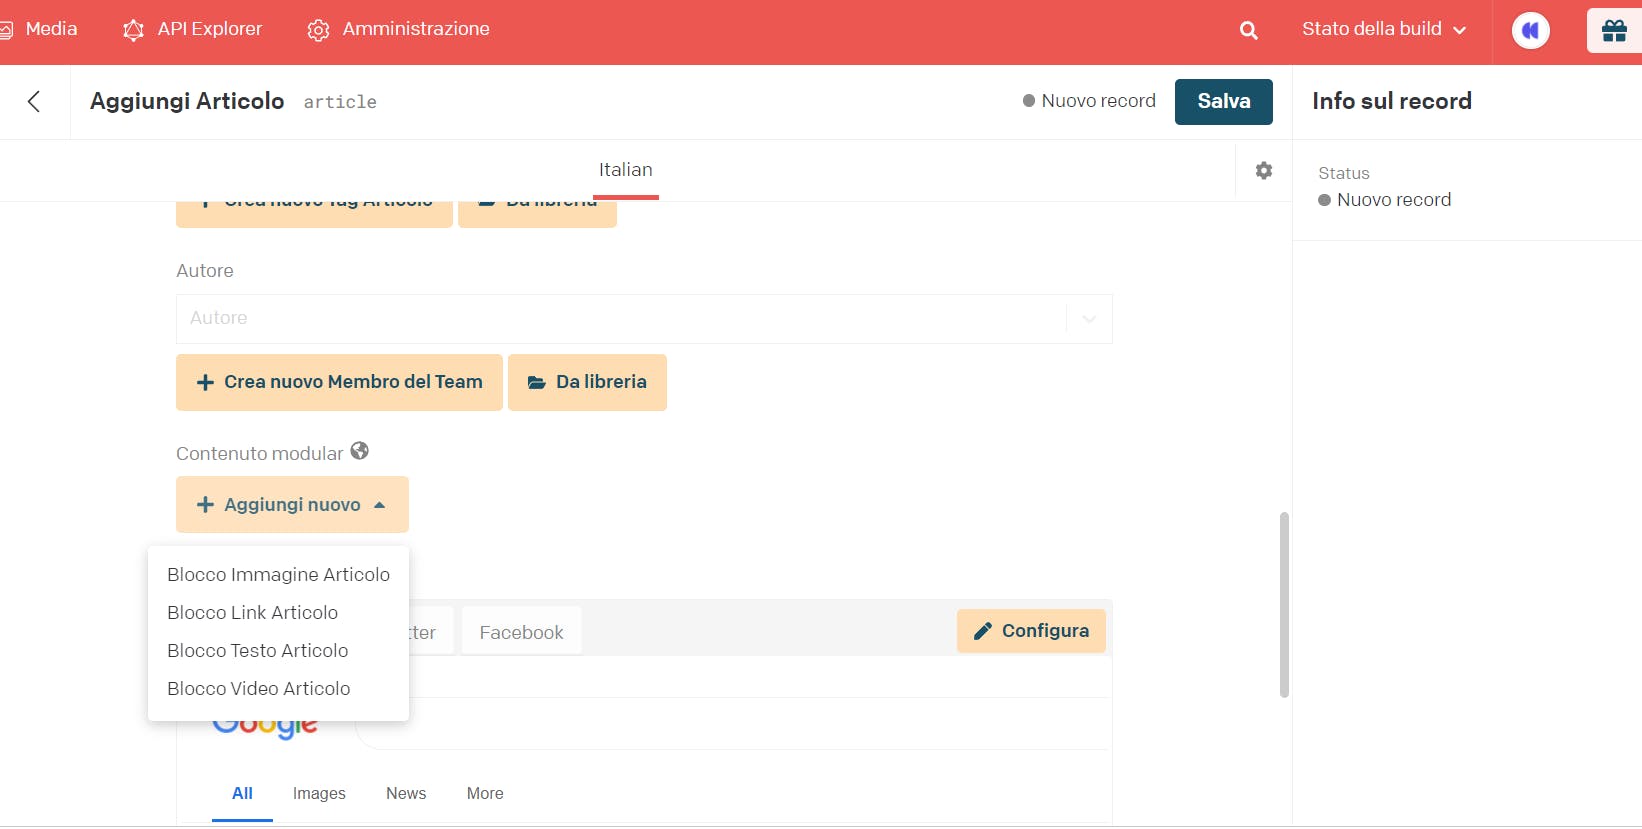
Text blocks usually follow a “heading + body” structure to help you plan your article's structure with SEO in mind.
In this case, if you want to change your article's structure, next to each block you'll find a three-dot menu that lets you add a new block right there, duplicate it, move it up or down, or delete it.
How to manage images effectively
If you need to add one or more images to your article, we suggest renaming them before uploading them to the Media Area, so they're easier to manage.
You can use different criteria to rename images. A good practice is to name photos after the page of the site where they'll be placed. If you've already decided their order on the page, you can use ascending numbers to keep that order in the Media Area. If you have a specific product collection, you can use “page-collectionname-photonumber”.
You can also specify, before the product category, whether the image is for the cover, a slideshow or a carousel.
Remember to choose the naming that works best for you, so managing your content is simpler and you can always find what you need quickly. DatoCMS also lets you tag content to organize it internally, but we'll cover that in an upcoming guide focused on the Media Area.
Since its latest updates, DatoCMS flags duplicate assets and won't let you upload them to the Media Area if they're already there.
To add images that are already in the Media Area to the record, just click “From Media Area” and select the image you want. Once they're renamed as explained in the previous section, they're easy to find with the Media Area search, even if the images span more than one page.

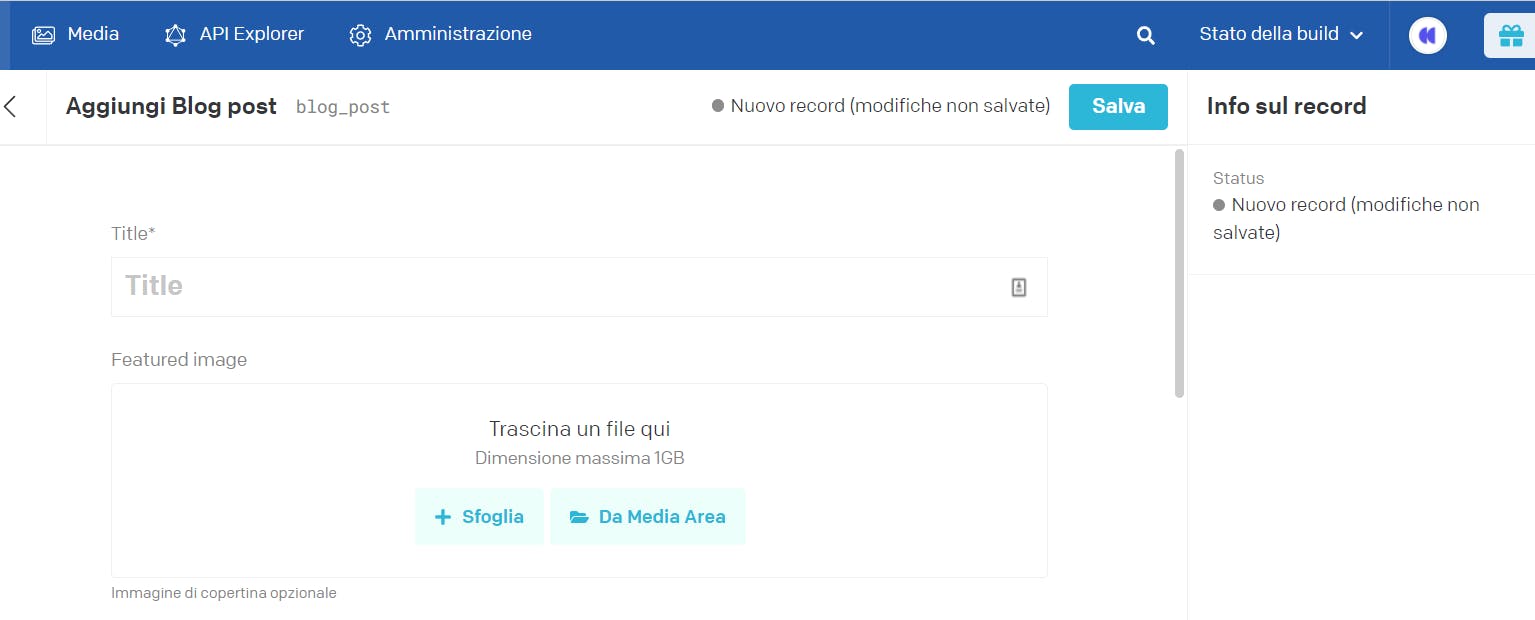
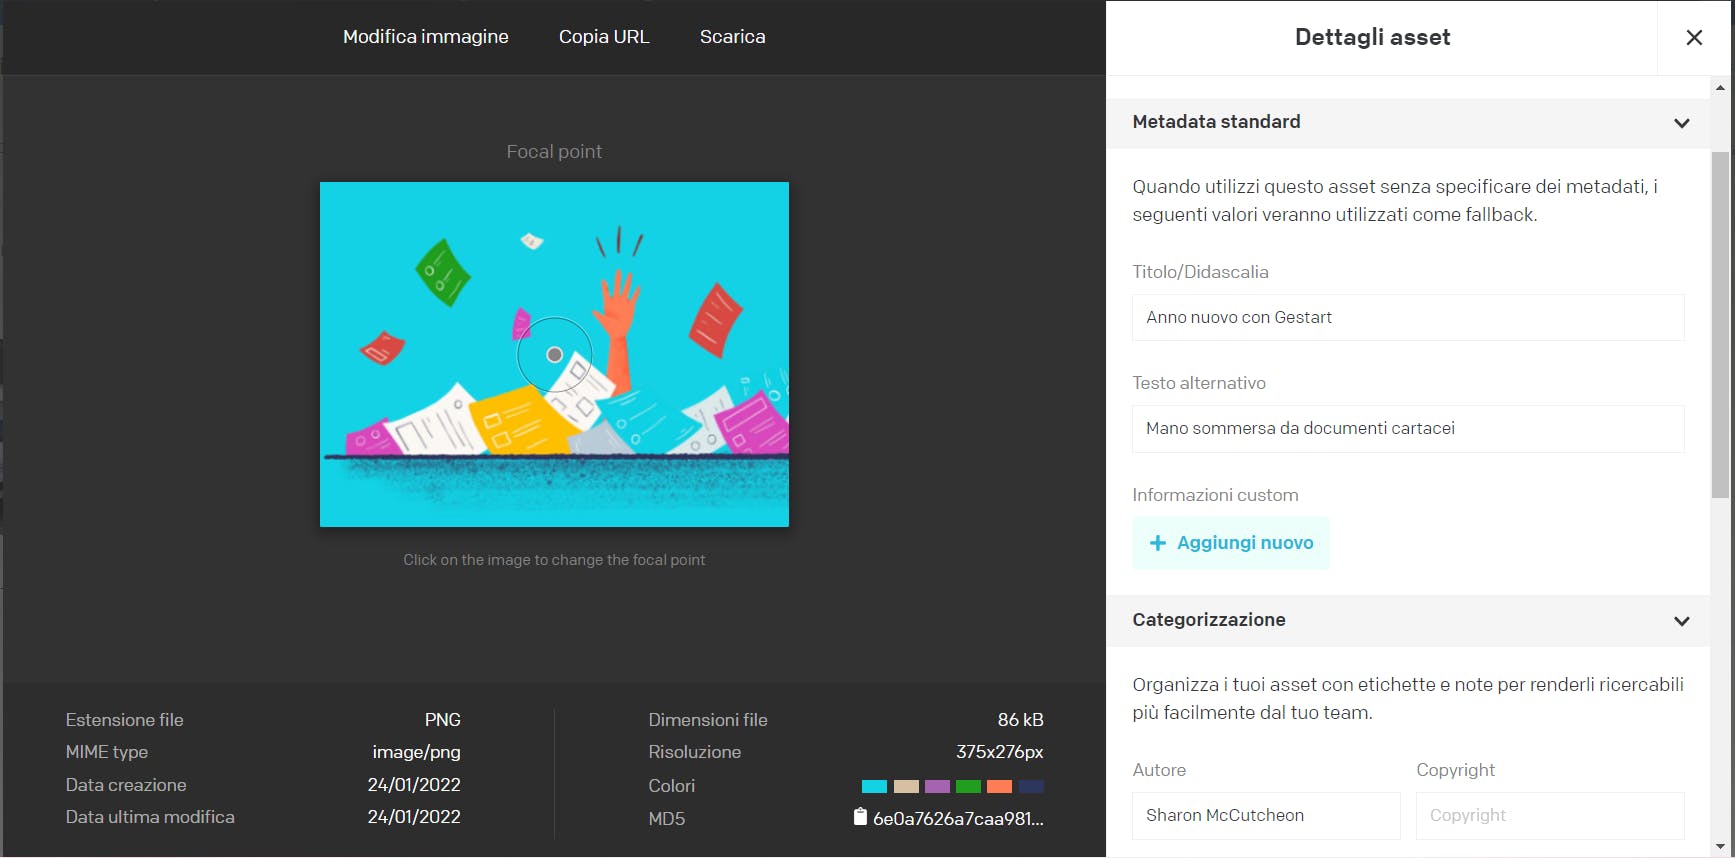
Once the image is uploaded to the Media Area, remember to add the title, the alt text and the copyright.

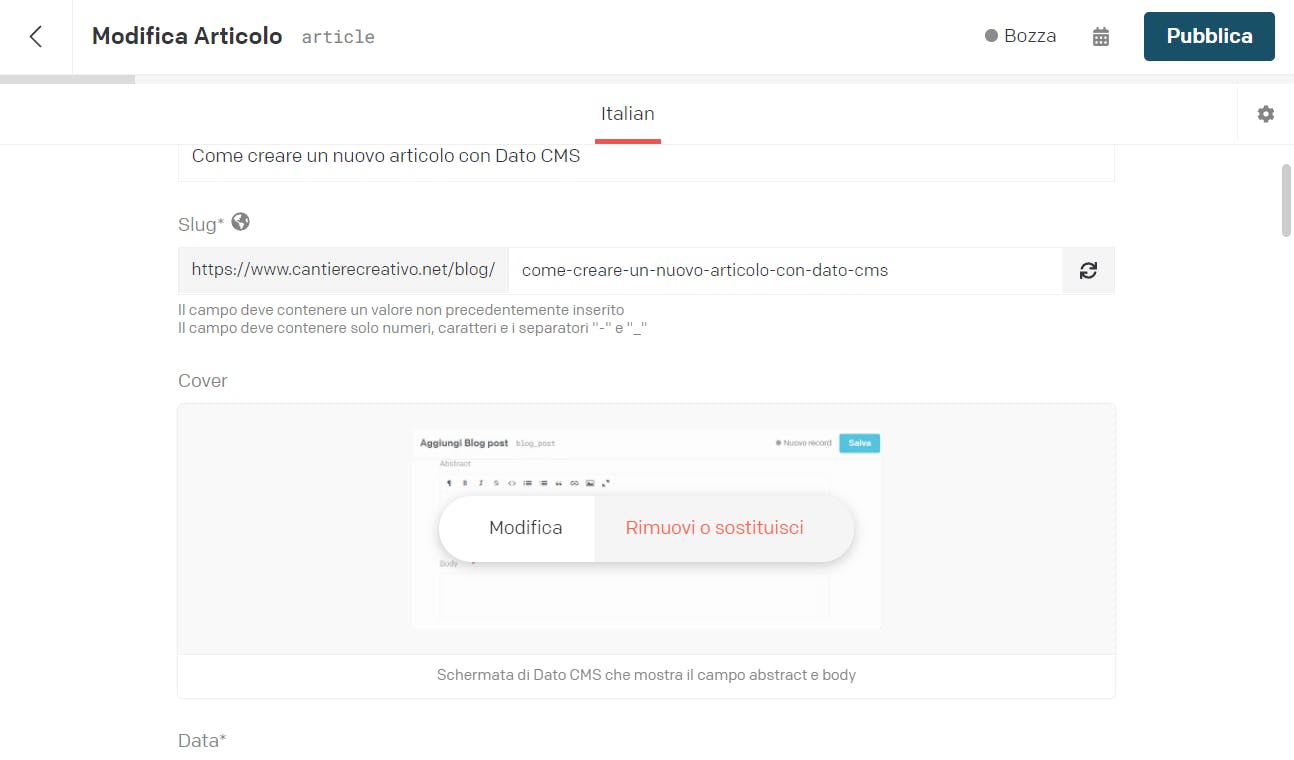
If you want to replace an image you've already uploaded in the block, just click “Remove or replace”, which appears above the current image. This opens the Media Area, where you can select the new one.

Make your content visible to Google
At the bottom of your article page you'll find the SEO box that asks for the page's title, description and image so it can be indexed correctly and become visible to Google.
DatoCMS shows the recommended length for the title and description. The title usually follows the structure “site page name - company name”. For a blog post, it can also be the article title. In some cases, it can be rewritten as a strategic question for SEO purposes.
As for the description, users searching should get a quick idea of what the page is about. The first sentence usually includes the target keyword that also appears in the title. Always try to rework the text as much as possible instead of copying passages already on the page.
Depending on how your site was built, the SEO box may be one of the required fields marked with an asterisk; if so, DatoCMS won't let you save the record until it's filled in.

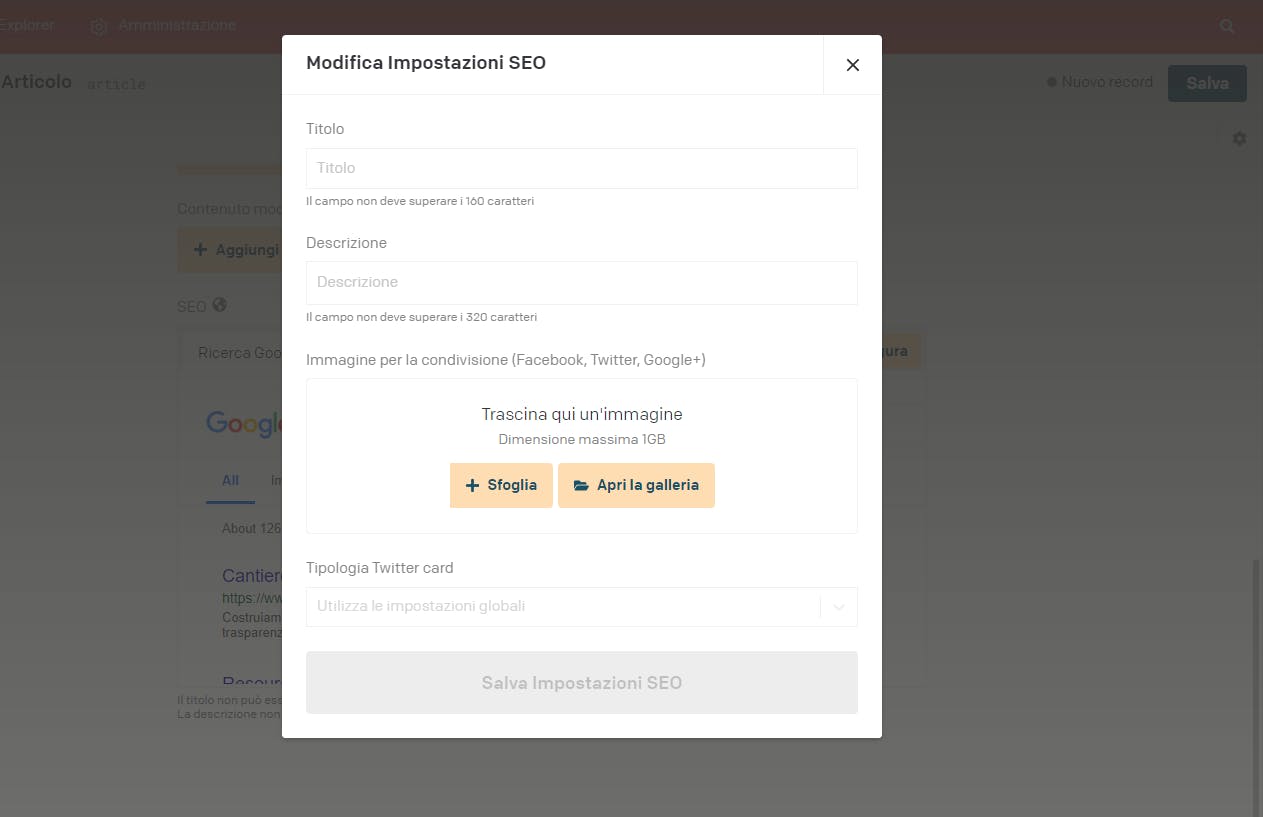
The share image, at the bottom of the box, is the cover shown on Twitter, LinkedIn and Facebook; that's why we recommend an image with a resolution of 1200x628 pixels.
If your company has no one dedicated to SEO and you need advice, the Cantiere marketing team is always available for a chat.
Watch out for validations
Pay close attention to the validations set by whoever configured DatoCMS to prevent the site from failing to go to production or the reading experience from being disrupted. You'll notice a validation when a field, whether text or image, shows a red message or a red asterisk.
How to publish your content on the site
The first time you save your content, DatoCMS stores it as a draft. In the record list, and in the record itself, you'll see that articles have a colored dot: green when published, gray when in draft and yellow when they have unpublished changes.
To turn a draft into a published article, click the “Publish” button at the top right.
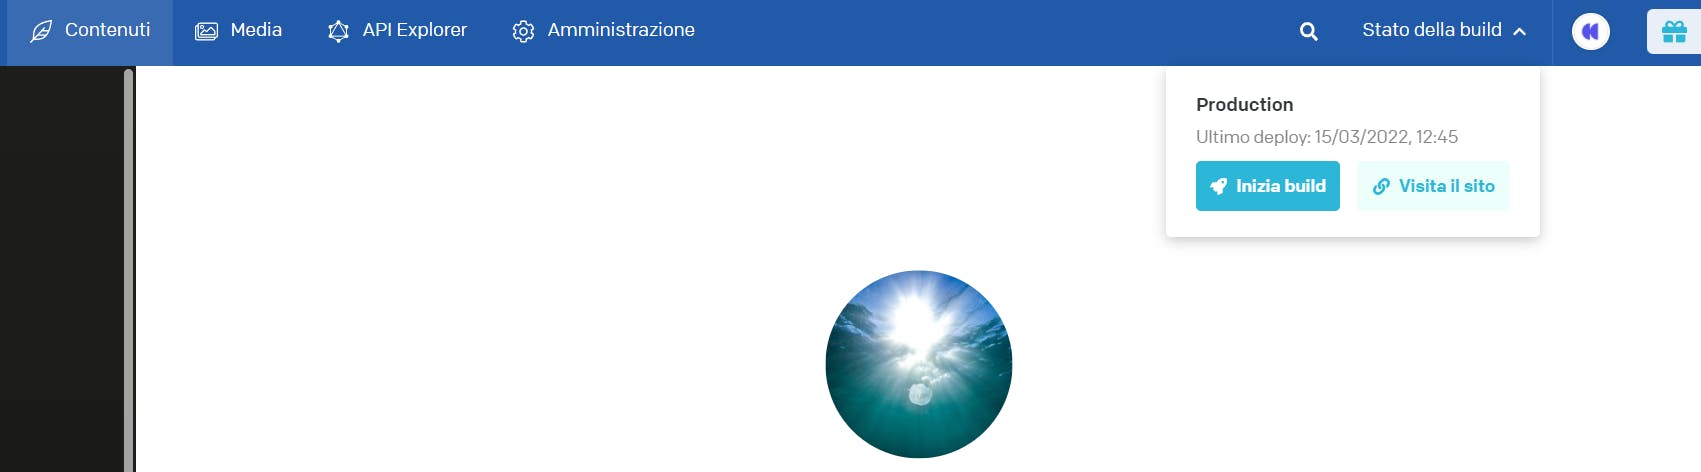
Note: content “published” in DatoCMS isn't live on your site until you click “Start build” at the top right; this is because the article has to go from the backend, where you wrote it, to a static version visible to everyone.
Think of the deploy as printing a document: you may have saved it in your personal folder, but others can't see it until it's on paper!

Either way, we're always here for you!
DatoCMS can be customized far more than you might imagine. Every installation is different. Your site's setup might use SEO plugins, dynamic blocks or standard models for managing text and images.
That's why we know this guide may not answer all your questions.
If you run into any trouble publishing, don't hesitate to contact us.


