

How to build an e-commerce site with Next.js and Snipcart
In this tutorial you will learn how to build an e-commerce website with Next.js and Snipcart. First, you will see what Next.js and Snipcart are and why they are the perfect technologies for setting up an online store. Then you will see how to use them to bring your e-commerce site to life.
In this tutorial you will learn how to build an e-commerce website with Next.js and Snipcart. First, you will see what Next.js and Snipcart are and why they are the perfect technologies for setting up an online store. Then you will see how to use them to bring your e-commerce site to life.


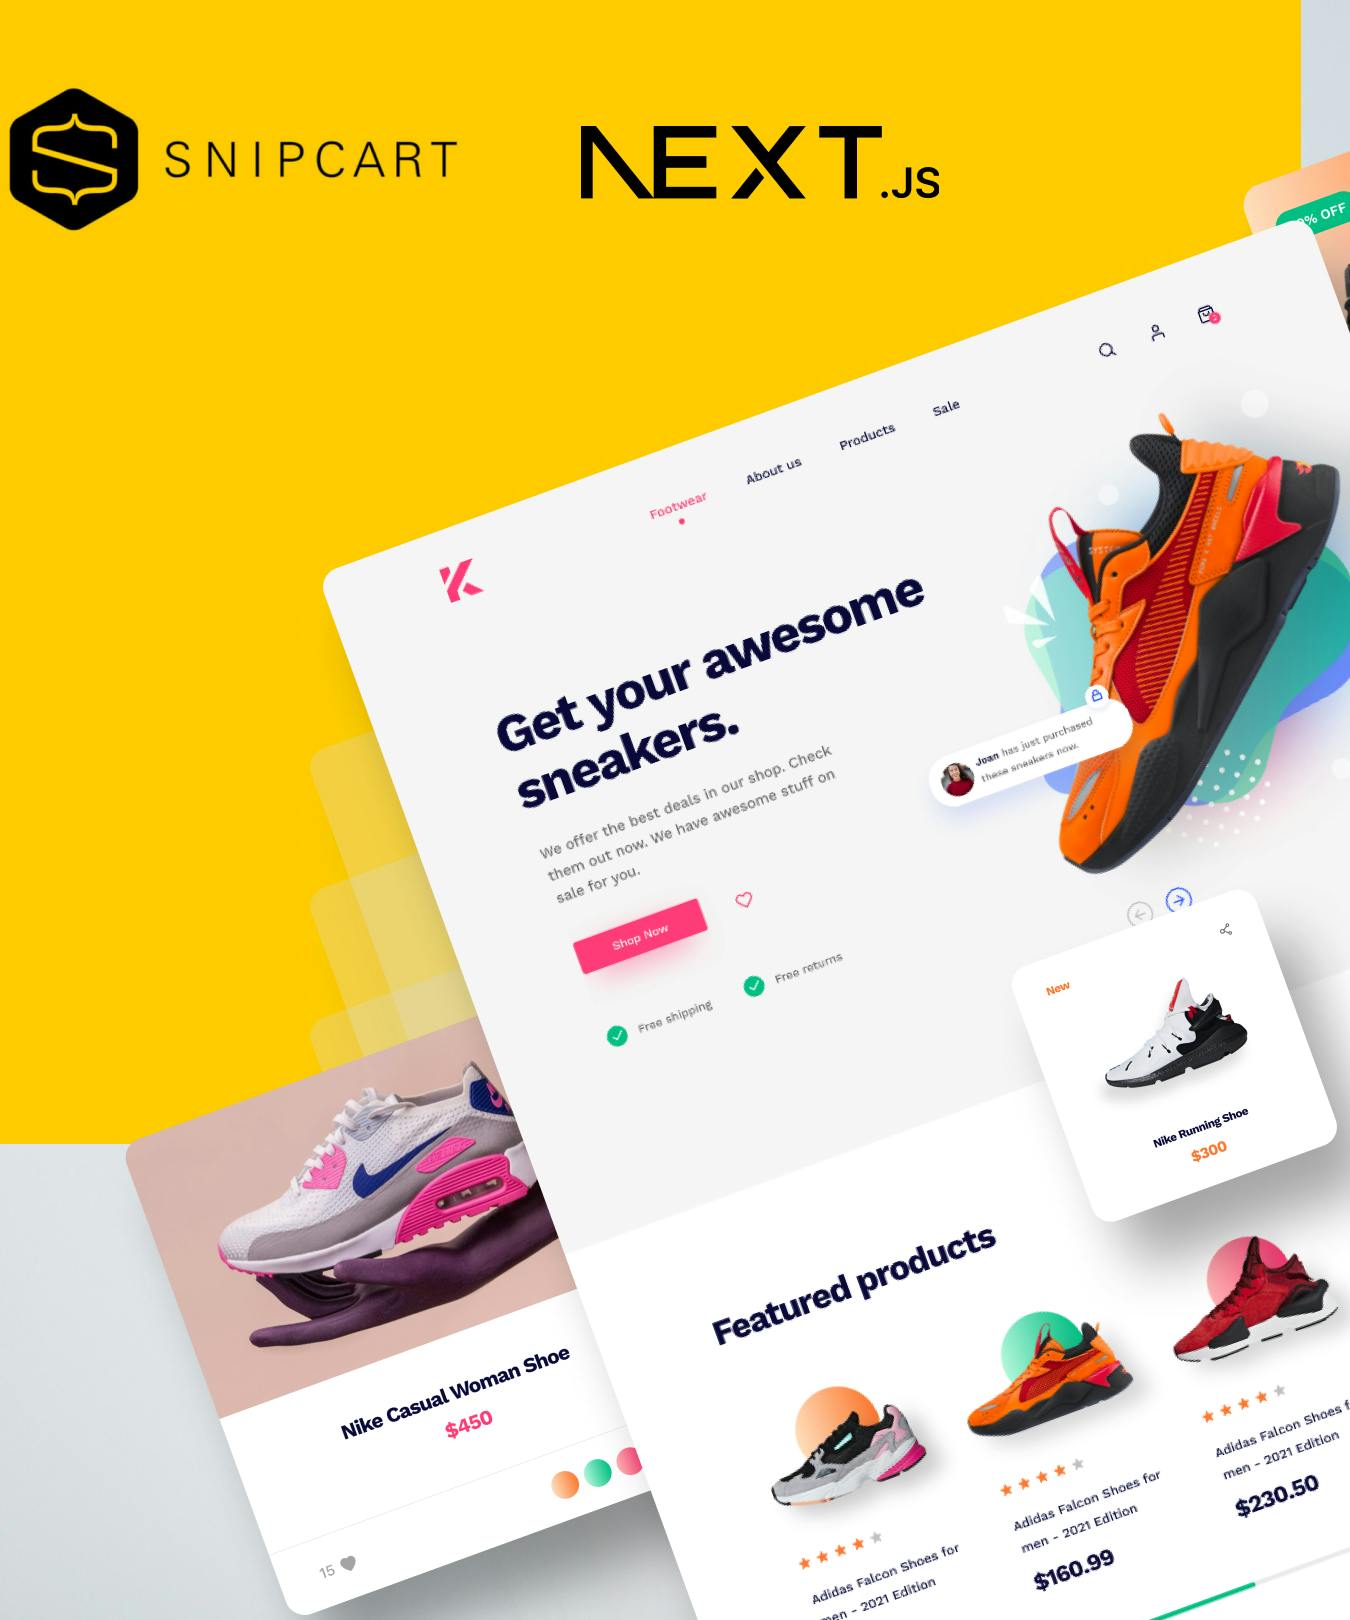
In recent years, e-commerce has become more and more popular and demand for this kind of website has skyrocketed. As a result, several technologies have been released to help developers build online stores. Snipcart in particular is the perfect solution for building a modern, secure e-commerce site, not least because it integrates easily with Next.js. Building an e-commerce site with Next.js and Snipcart to sell your products or services online is quick and simple.
Let’s waste no more time and dive into the tutorial!
What is Next.js?
Next.js is a JavaScript framework built on top of Node.js. Its goal is to enable server-side rendering of web applications built with React. In other words, Next.js lets you use React to build a website just as you would with PHP or similar technologies.
One of the main advantages of server-side rendering is that it overcomes the SEO problems typical of React SPAs (Single Page Applications). A Next.js website is therefore SEO-oriented, which is essential for e-commerce, since your customers need to be able to find your products straight from Google.
Find out more about why Next.js is the right technology for SEO. A Next.js website also performs well, because the browser only has to display the pages received from the server instead of building them dynamically as in React.
On top of that, Next.js can count on millions of npm packages. These ready-to-use libraries let you reach any goal faster, without reinventing the wheel every time. That is why Next.js is an efficient technology as well, in terms of cost and development time.
What is Snipcart?
Snipcart is a powerful, reliable and easy-to-configure platform for building the shopping cart of an e-commerce site with HTML and JavaScript. This powerful tool lets you add the most common e-commerce features to any website or web application in minutes. Snipcart also lets you customize the look of your store with custom CSS rules.
Snipcart also comes with a complete, easy-to-use back office, where you can track any kind of data about your store’s sales. This makes it an ideal JavaScript solution for building an e-commerce site effortlessly.
Now let’s see how to build an e-commerce site with Snipcart and Next.js.
Building an e-commerce site in Next.js
Before you start, make sure you have Node.js 16+ installed on your computer. This is the only prerequisite for the tutorial, whose end goal is the following:
Want to learn how to get there? Time to dive into this step-by-step tutorial and learn how to build an e-commerce website in Next.js with Snipcart!
1. Initialize your Next.js e-commerce project
Create Next App is the officially supported tool for initializing a new Next.js project.
Open the terminal and run the command below to create your Next.js e-commerce project:
With a single command you will initialize a Next.js project in the "ecommerce-demo-nextjs-snipcart" folder, which will contain the following files:
Move into your new project folder and launch the demo Next.js application with:
Then visit "http://localhost:3000/" in your browser, and you should see the default Create Next App page below:

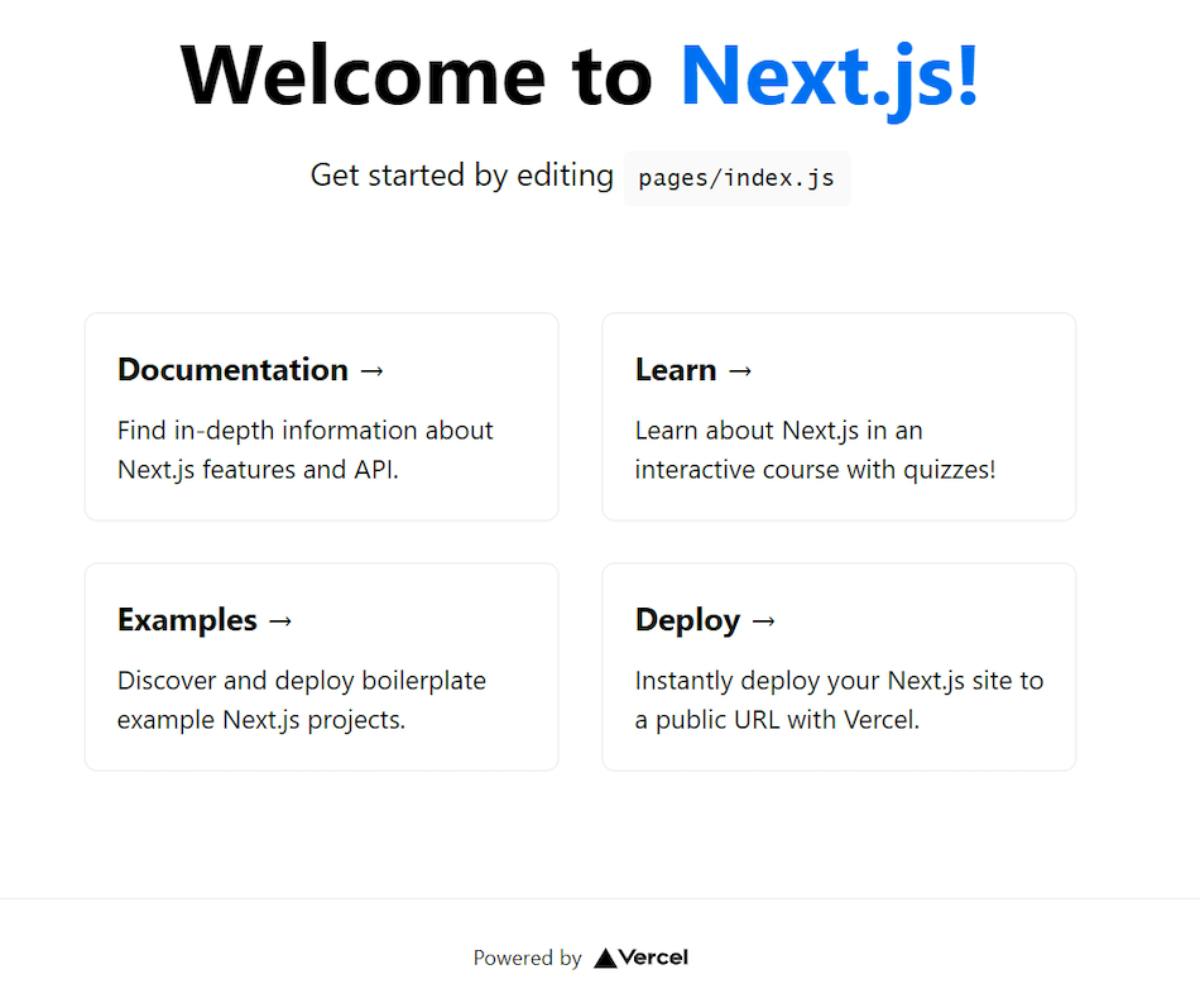
Great! This means your Next.js web application is working perfectly. Now let’s add Snipcart.
2. Integrate Snipcart into Next.js
It is time to integrate Snipcart into your Next.js project. If you run into problems configuring Snipcart or integrating it into your Next.js website, follow the official documentation.
Before you begin, you need a Snipcart account. If you have not signed up yet, you can create an account for free. Otherwise, log in to the platform with your Snipcart credentials.

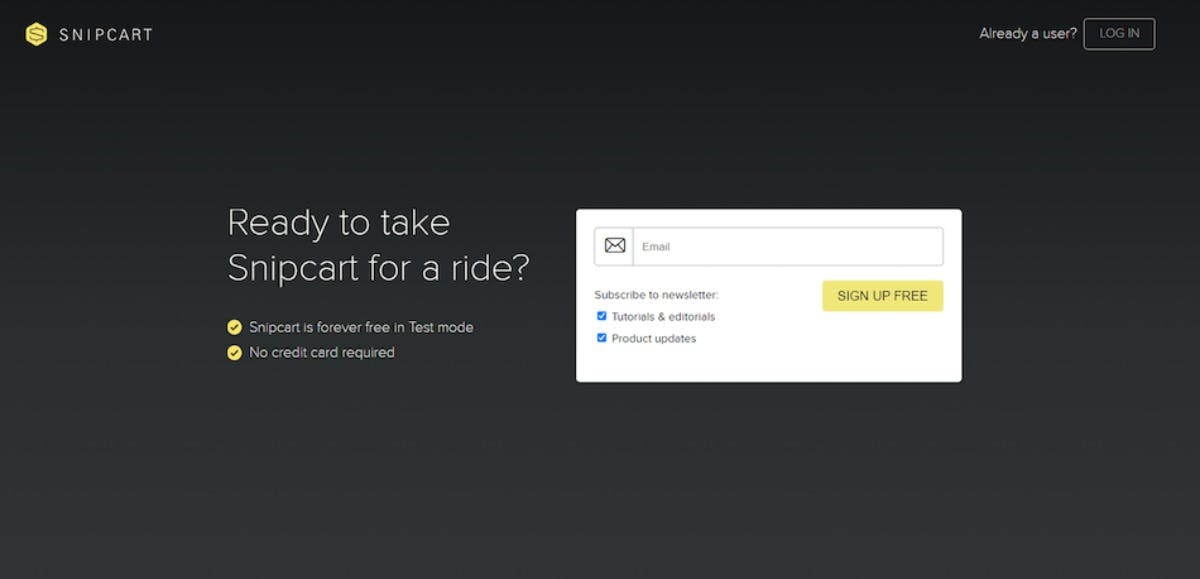
Now you can connect Snipcart to your website by importing its CSS and JavaScript files from its public CDN. For the CSS, add the following lines of code to the Next.js "<Head>" component in the "pages/index.js" file:
This is how Next.js supports adding external CSS to a web page, in this case the site’s home page. The first line tells the browser to preconnect to Snipcart’s CDN subdomain for performance reasons. The last line imports the default CSS file that styles the Snipcart shopping cart.
To import the JavaScript file Snipcart needs to turn your Next.js site into an online store, paste the lines of code below after the "footer" section of the "pages/index.js" file:
Note that you need to import the Next.js "<Script>" component with:
Add this line at the top of "pages/index.js", in the "import" statements section.
As you can see, the code includes a "<div>" marked as "hidden". Snipcart uses it to manage the shopping cart. To make everything work, all that is left is to specify your Snipcart API key in it.
You can get your key from the Snipcart dashboard. Log in to the Snipcart website, go to your private area and click the “API KEYS” menu item. There you will see your API key, as in the image below:

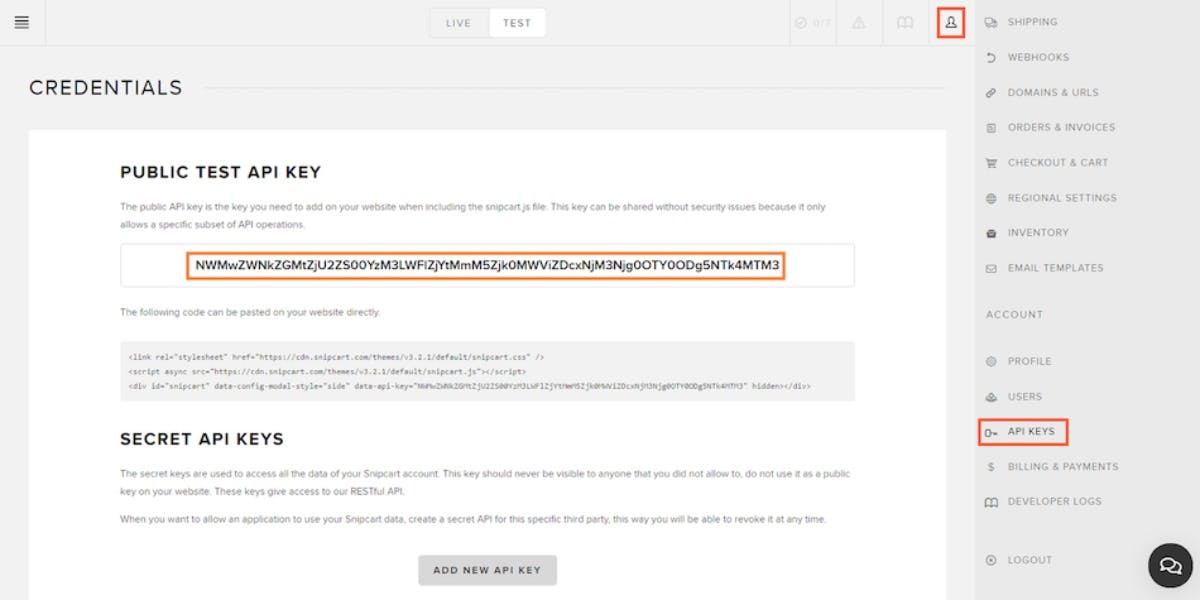
Replace “<YOUR_SNIPCART_API_KEY>” in the "<div>" marked as "hidden" with your Snipcart key, as follows:
Perfect, Snipcart is now integrated into Next.js! Your site now has a shopping cart, like any self-respecting online store! The next step is to add products to your store.
3. Define the product component
Let’s see how to implement a React component called `Product`, containing the details of a single product for sale in your store, and connect it to Snipcart.
You can build this component as shown below:
As you can see, a product is defined by an ID, a name, an image, a description and a price. Keep in mind that this is just an example and your products may need different information.
The Snipcart integration works through the "data-item-*" attributes on the HTML "<button>" element. These HTML attributes let Snipcart add the product to the cart when the "Aggiungi al carrello" ("Add to cart") button is pressed. To learn how this mechanism works in detail, read the guide carefully in the official Snipcart documentation.
Great! The "Product" component is all you need to implement an e-commerce site in Next.js with Snipcart. Now let’s see the store in action.
4. Finishing touches
The only thing left to do is fetch your product data and display it on your site’s home page through the "Product" component. Update "pages/index.js" as follows:
You are now ready to test your store. Launch the application with:
Go to "http://localhost:3000" in your browser and try clicking the "Aggiungi al carrello" ("Add to cart") button. The selected product will be added to the cart automatically by Snipcart.
Your users can now add the products and services offered on your site to their cart.
The last thing to do is integrate a payment system by connecting Snipcart to one of the many supported payment gateways.
Your Next.js site is now an online store! Congratulations!
Note, however, that the whole e-commerce site relies on the "products.json" file imported in "pages/index.js". This JSON file contains all the information about the products for sale:
Each JSON object contains the data needed to populate the props of the "Product" component. As you can imagine, keeping all your products in a file like this is fine for a demo site like the one built here, but it does not work in a real-world scenario.
That is why at Cantiere Creativo we choose an advanced headless CMS like DatoCMS to manage e-commerce content. Let’s find out more!
How Cantiere Creativo approaches e-commerce content management
As you have learned here, building an online store with the right technologies takes just a few minutes. The problem is knowing which technologies those are and how to use them. Cantiere Creativo is a digital partner that supports you with exactly that, helping you choose and adopt the best technologies for your needs and guiding you through your digital transformation.
For example, you should know that the real challenge in e-commerce is content management. You need a tool that anyone on your team can use to add, edit and manage the products and services for sale. It also has to let you create and distribute engaging content to promote your products or build modular landing pages. That tool is a headless CMS like DatoCMS.
DatoCMS is one of the best CMS technologies on the market. You can easily integrate it into your Next.js store and call an API to get your product data in a few milliseconds. Your marketing and sales staff can manage all your store’s content directly in the user-friendly DatoCMS platform. That is why Cantiere Creativo recommends DatoCMS.
Conclusion
In this article you learned how to build an e-commerce website in Next.js. There are dozens of technologies, libraries and services that make this easier so you do not have to start from scratch. Only a cutting-edge digital partner like Cantiere Creativo can guide you through this technology jungle.
As we have seen, Snipcart is the perfect solution for implementing an e-commerce site in Next.js quickly and easily. The real challenge behind an online store, though, lies in creating and managing content about the products and services for sale, and with DatoCMS you can easily overcome that hurdle.
Thanks for following the tutorial! We hope you found this article useful. Feel free to contact us here with any questions, comments or suggestions.


