

How to build a modular landing page in Next.js
Marketing campaigns have evolved over the last few years, and most of them now rely on landing pages. These pages are designed for conversion, guiding users toward a specific action: the goal of the campaign. Building a modular landing page on a reusable template isn't that hard. Here, you'll learn how to build the landing page of your dreams in Next.js.
Marketing campaigns have evolved over the last few years, and most of them now rely on landing pages. These pages are designed for conversion, guiding users toward a specific action: the goal of the campaign. Building a modular landing page on a reusable template isn't that hard. Here, you'll learn how to build the landing page of your dreams in Next.js.


First, you'll learn what a landing page is. Then, you'll see the sections every landing page should include. Finally, you'll learn how to build a modular landing page in Next.js. Let's not waste any more time and dive in!
What is a landing page?
A landing page is a web page where visitors "land" after clicking a link in an email, an ad, a social post or elsewhere. These pages are usually created for a marketing campaign with a specific goal in mind.
More precisely, Gartner defines a landing page as “a web page targeted to a specific marketing strategy. Users are typically directed to the landing page through an SEO search result, a marketing email or a social media post.”
So while generic web pages usually encourage exploration and may have many goals, landing pages focus on a single marketing goal. This goal is also known as the CTA (Call To Action), a marketing term for a graphic element designed to prompt the user to take action.
In other words, users who reach your landing page are encouraged to take an action, such as buying a product, downloading a document or subscribing to your newsletter. A landing page is successful if many users take the action it was designed for.
Now let's see which elements a good landing page should have.
What elements should a landing page include?
The recipe for a good landing page is simple. Let's look at the sections a landing page needs to be effective.
1. A clearly visible header
The “header” section of a landing page usually includes a navigation bar (the navbar) with links to the other sections of the page. Its purpose is to help visitors navigate the landing page. The links in the header should be anchor links, meaning internal links to sections of the page. After all, you don't want visitors to leave the page.
The header should also include your logo.


2. A striking hero section
The “hero” section is the first thing users see when they land on your page. It's the area between the header and the next section, and it's usually designed to fill the entire vertical and horizontal space of the screen. Its goal is to impress visitors with its design and colors and lead them to the next section of the landing page, the one containing the CTA.


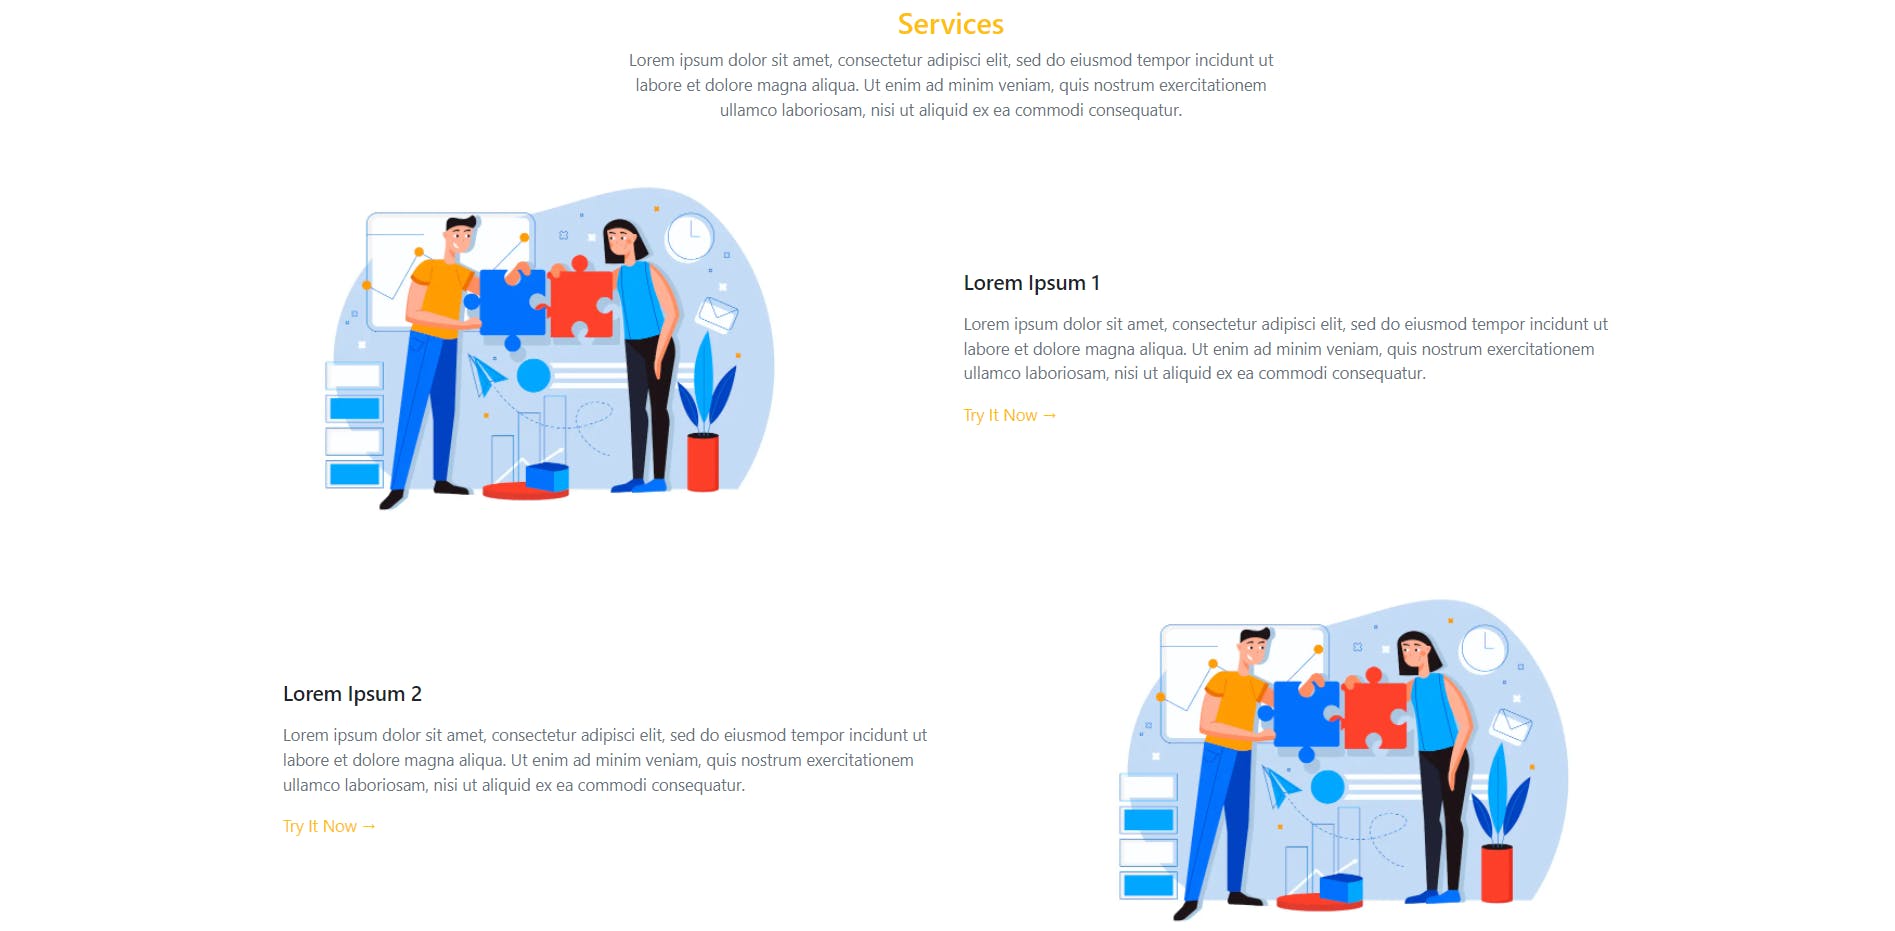
3. A section dedicated to the CTA
This is the most important element of a landing page and the only truly mandatory one. This is where you guide visitors to take the action the landing page was designed for. The CTA section can be a product list, a form or a download link.

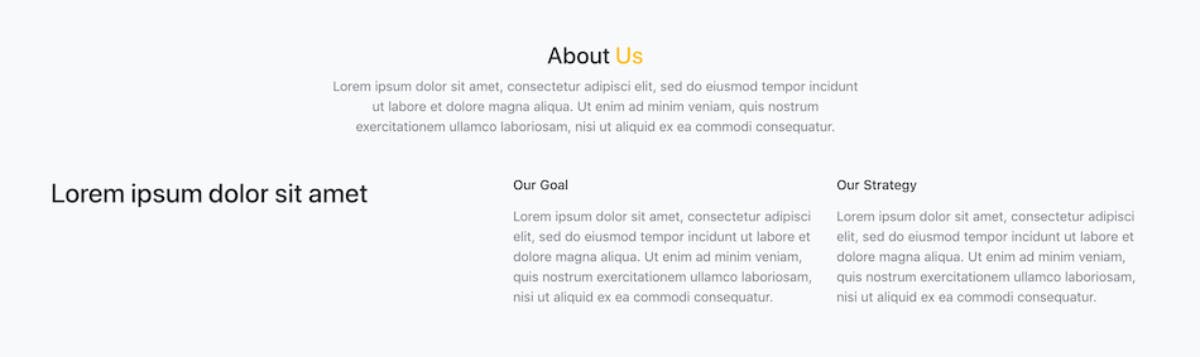
4. An "About us" section
An optional section to better explain what the landing page is about, who you are or what you do.

A small section that usually includes links to the privacy policy or any information required for GDPR reasons.


How to build a landing page in Next.js
So let's see how to build a modular landing page that easily adapts to different goals in Next.js. In the following tutorial you'll learn how to build an effective landing page designed entirely with Bootstrap.
Prerequisites
Here are the prerequisites for building the landing page:
- Node.js 12+ and npm 8.0+
- Next.js >= 12.x
- React >= 18.x
- Bootstrap >= 5.x
- React Bootstrap >= 2.x
Implementing a landing page in Next.js with Bootstrap
You can clone the GitHub repo that accompanies this article and check out the landing page locally by running the following commands:
Then visit "http://localhost:3000" in your browser to see the landing page in action.
Otherwise, keep following this tutorial and learn how to build the landing page step by step.
1. Initialize a Next.js project
The best way to initialize an empty Next.js project is with Create Next App, the officially recommended tool for bootstrapping a Next.js application. You can initialize a project called `landing-page-template-nextjs` by running the following command:
The "landing-page-template-nextjs" folder should now contain the following files:
Now, move into the "landing-page-template-nextjs" folder and start the local server by running these two commands:
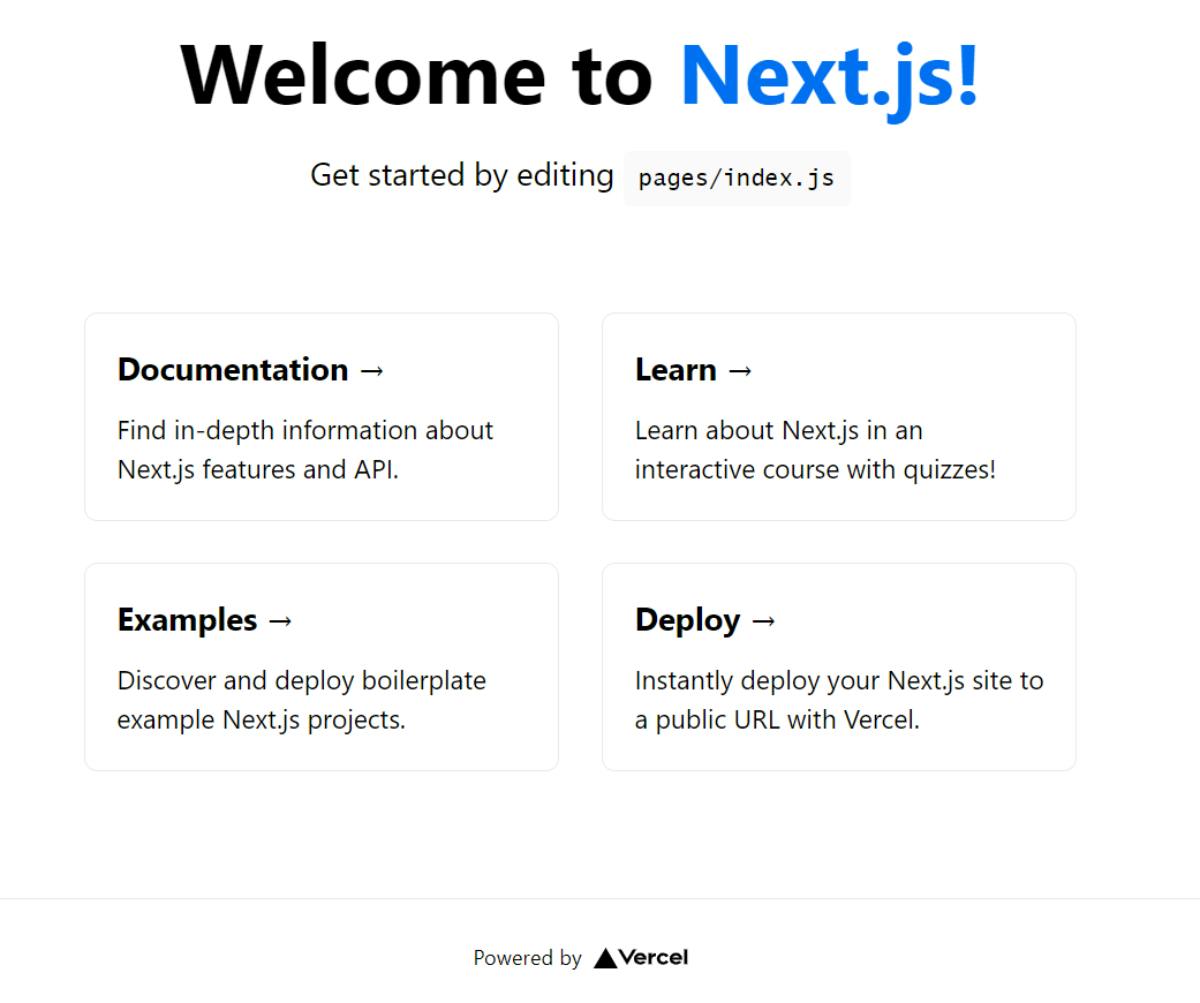
If you visit "http://localhost:3000/" in your browser, you should see the default Create Next App page:

2. Implement the landing page components
First, add the required dependencies. You can add "bootstrap" and "react-bootstrap" to your project's dependencies with the following command:
Now let's dig into how to implement each of the components a landing page needs.
Header
Hero
Note that the "Learn more" button leads to the CTA section below. That's exactly what a “hero” section should do.
Services
In this example, the CTA section is the following list of services:
The list of services is passed as an object in the "props". This way, the services to display aren't hard-coded in the component, which makes it more dynamic. For example, you could fetch this list from an API.
This way, when you change the service content in your content management platform, the landing page updates accordingly.
Here's what the "Service" component referenced in "Services" looks like:
In this example, the "Try it now!" buttons are the CTAs, that is, what users are prompted to click.
About
The section above is entirely optional and can be left out of your landing page altogether.
Footer
Just like the "Services" component, the content of the "About" component depends on its "props" and can be updated dynamically as needed.
3. Put it all together
Now let's see how to use the components above to build your landing page. Create an "index.js" file in the "/pages" folder and define it as follows:
As you can see, all it takes to build a landing page is to stack the components presented above one after the other.
That's it! Your landing page is ready to be deployed.
Modular landing pages with DatoCMS, the Cantiere Creativo way
Since landing pages all follow the same recipe, the ideal solution is to define a template that works and adapt it to your needs each time. That's something only a modular landing page builder can give you, which is why at Cantiere Creativo we rely on DatoCMS.
DatoCMS is a headless CMS with advanced features designed for developers and marketers. Specifically, DatoCMS lets you define reusable components that can be used to create modular landing page templates.
With DatoCMS, the marketing team can create a landing page template, connect it to a frontend project and duplicate it endlessly. In other words, DatoCMS lets you base different web pages on the same template. DatoCMS also lets you change colors, language, copy and much more, so every page is unique.
Designing a new landing page from scratch for every marketing campaign takes time and money. That's why we recommend a landing page builder like DatoCMS, built around configurable modules encoded in a template.


Conclusions
In this article, you learned what a landing page is, what elements it should include and how to build a successful one in Next.js. Although it only took a few lines of code, it's a task with some pitfalls. So if you're looking for a more scalable and reliable solution, consider adopting an advanced CMS like DatoCMS to easily create and deploy modular landing pages.
Thanks for following the tutorial! We hope you found this article useful. If, beyond structure, you're curious about how we write content, we have a resource just for you. Feel free to contact us here with any questions, comments or suggestions.


