

HTTPS everywhere: why not use it on every project?
2017 looks set to put a lot of weight on sites that support HTTPS: Google will give 'secure' sites a little more visibility, while the major browsers will show a 'Not secure' warning when they detect logins over HTTP. Let's look at how to set up HTTPS on different website architectures.


Update, March 2017
Heroku has integrated Let's Encrypt into its platform, so the Heroku section has been revised
In the following examples, we assume we want to get an SSL certificate for the domain www.example.com.
SNI: Server Name Indication
In the standard SSL protocol, a packet containing encrypted information reaches the server via an IP address. The server uses the SSL certificate associated with the server instance on that IP address and establishes the connection. The communication is definitely encrypted, but we might have reached that IP through a different domain name.
The classic example is when we have an SSL certificate for www.example.com and also let example.com reach the server. Typing the latter, we'll be faced with an alert:

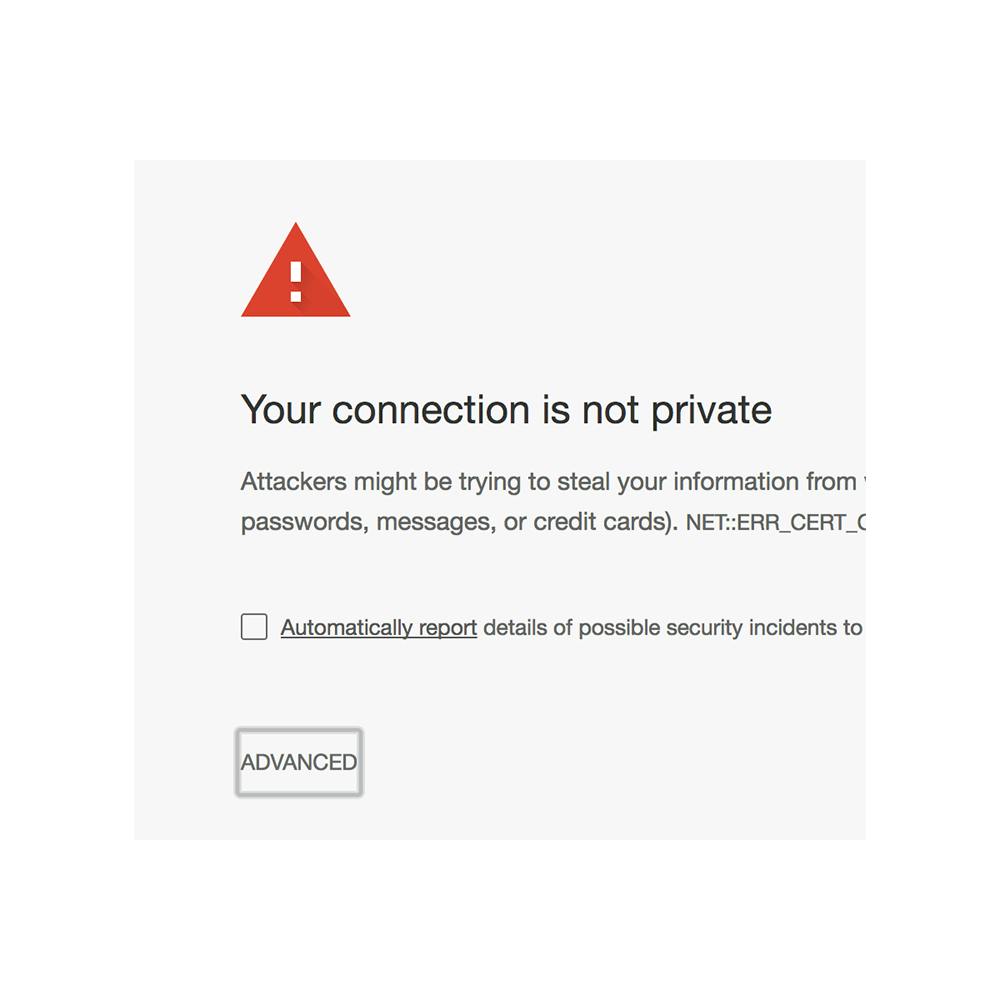
.
Now, if you're a nerd like me, you open the certificate, notice the problem was just a DNS misconfiguration and carry on. But an average user visiting their bank's portal will probably get worried and close the window.
So let's assume our system has a single server instance listening on a given IP address, with a single SSL certificate to serve. N domains would mean N IP addresses, which isn't always feasible, at least until we have IPv6 everywhere.
To get around this limit, all recent browsers have implemented a new protocol: SNI. In this mode, the browser sends the hostname it wants to connect to in plain text. In the standard system, the hostname is in the request headers, which are encrypted. Now we can even have many servers with different hostnames listening on the same IP address: having the hostname in plain text lets us receive the correct certificate.
All very nice, except for one small thing: older browsers can't handle this type of SSL (but we're talking about browsers for Symbian and for BlackBerry OS 7 or earlier).
##Cloudflare
Cloudflare offers a universal solution for managing SSL certificates (in particular, it can be used as an alternative in all the cases we'll cover in this article).
Cloudflare is a CDN used to cache pages. To set it up, the DNS record for www.example.com must point to the CDN's machines. Then you tell the CDN the address of the server hosting your site or application.
That's the whole trick: since the domain name is linked directly to the CDN, the CDN itself has to provide the SSL certificate.
Assuming we want to put a CDN in front of a site hosted on Amazon S3, these are the steps:
- Transfer DNS management to Cloudflare (go to the domain registrar's dashboard and set Cloudflare's servers as the DNS servers)
- In Cloudflare's DNS settings panel, set the usual DNS rule to the server (an A or CNAME record pointing to the actual server)
- In Cloudflare's Crypto panel, enable HTTPS to the client.
By moving our domain's DNS management to Cloudflare, we've proven we're the actual administrators of the domain, which is enough to receive an SSL certificate.
We now have a valid certificate from the browser to Cloudflare, which internally handles communication with the origin server.
As you can see, nothing was changed on the server side, and that's the big advantage of this architecture. Its main drawback is having to transfer DNS management to Cloudflare, which is very hard to do, especially when you don't own the domain.
Static sites on Amazon S3
The AWS world includes a Certificate Authority service that issues SSL certificates for use within the platform: Amazon Certificate Manager.
To generate a certificate, you just provide the domain name. While Cloudflare assumes that whoever sets the DNS resolver is the domain admin, Amazon has no prior information for certification: the domain admin is authenticated via an email sent to a set of well-known addresses (admin@example.com, administrator@example.com) and to the admin addresses found through the whois service. The email contains an activation link: follow it and Certificate Manager will treat that hit as proof that you're the domain admin.
Once you have the certificate, you can't use it with S3 directly. So we need to set up a distribution on AWS Cloudfront, AWS's own CDN service.
Once the distribution is created, we set the bucket's public URL (mybucket.s3-website-eu-west1.amazonaws.com) as the Origin, choose the certificate previously created in Certificate Manager under General, and set a Policy under Behaviour (unless you have special needs, the HTTP => HTTPS policy is more than fine).
Compared with Cloudflare, the advantage here is that we don't need to manage the domain. The admin just has to follow the link in the email to get a valid certificate. It does come at a cost, however small: Cloudflare offers the service on its Free plan, whereas Cloudfront always charges in proportion to the bandwidth transferred.
Your own server
If you need your own server (for example on DigitalOcean or Linode), you can use the ACME protocol via the LetsEncrypt service.
ACME is a protocol that automates the generation and renewal of SSL certificates. The mechanism is very simple:
- The client asks the ACME server for a certificate for a domain.
- ACME responds with a challenge, consisting of a filename and some content.
- The client sets up the server so that the expected content is available at the path requested by ACME.
- The client tells ACME to verify the request.
- ACME goes to www.example.com/filename and checks whether the content is the expected one.
- If the check succeeds, the client requests the certificate and ACME provides a complete certificate (certificate, private key, chain and fullchain).
As you can see, the client and server could just as well be the same machine or two different ones. The only guarantee ACME wants is that whoever requests the certificate proves they have write access to the machine associated with the domain being certified.
A complete guide to setting this up on a server is available at this link.
With your own server, this lets you physically hold SSL certificates without all the hassles of traditional Certificate Authorities (costs, complex authentication of the domain owner). Of course, scheduling the renewal is up to us, but since we've already agreed to take on the system administration of our own server, the cost of managing certificates is, in my opinion, negligible.
Heroku Platform
The Heroku platform has always been a go-to option for deploying Rack applications. No sysadmin burden: each app has a git repository, you set it as a remote and deploy the application with a push (Heroku unpacks the repo and sets up everything needed to run that type of app).
SSL on Heroku has always been a matter of debate. Being a cloud platform, you can't know the machine's IP address in advance, since it's managed by their infrastructure. Unlike Cloudflare or AWS, they didn't provide an automated certification mechanism, and everything was protected by their certificate covering the *.herokuapp.com domains.
There were only 2 solutions:
- Cloudflare in front of Heroku
- Buy a third-party certificate and enable the Heroku add-on that provided the Endpoint needed to serve that SSL certificate (for the modest sum of $20/month, plus the price of the certificate).
A few months ago, free SNI support was enabled on the platform (as long as you use a paid Dyno), making it possible to use third-party certificates for free.
Combined with Let's Encrypt and a few plugins (the Sabayou tool for generic applications or the Letsencrypt-rails-heroku gem for Rails applications), it became possible to build an automated certification system into the application's architecture.
I'm using the past tense because a few days ago (March 21, 2017) Heroku announced it had integrated an automated certification service into its platform, built on Let's Encrypt itself, with no need for external tools.
Just enable the service from the app dashboard or with the command
heroku certs:auto:enable --app nome-app
to turn on the service.
Now just add the domains you need with the command
heroku domains:add www.example.com --app app-name
heroku domains:add example.com --app app-name
and the service will request the correct certificate from Let's Encrypt.
DNS configuration
The only thing to keep in mind is this: once you decide to use a custom certificate, you need to change the DNS settings. Previously, the DNS had this rule
www.example.com. CNAME my-app.herokuapp.com.
but this configuration will always serve the wildcard certificate for all herokuapp.com subdomains (*.herokuapp.com).
For Heroku to serve the new SSL certificate, you need to use this rule
www.example.com. CNAME www.example.com.herokudns.com.
HTTPS Everywhere
As we've seen, there are several ways to get secure connections with no certificate purchase costs and very little time spent configuring environments.
At this point the question becomes: "Why shouldn't I put all my projects on HTTPS?" :)


